Wednesday, July 3, 2013

DIY Weathered Wood Signs


Here's another plan derived from the clearance section at Michaels. Very near the "R" which also came home, I found a peg full of little wooden signs that have vintage seed packages printed on them. They all have little wire hangers already on them and at a mere 49 cents a pop, I couldn't turn them down. In total, I came home with nine (three flowers, three herbs, and three fruits) for a total of $4.41 + tax. Not too shabby.


I wanted these to look very weathered, like they had been hanging outside a nursery for 50 years. So once again, out comes the hammer to beat the babies down.


Might not seem like a lot, so here's a comparison shot:


These were very soft bass wood, so I didn't get too heavy handed with them. I did notice that the back picked up a very cool pattern from the concrete balcony, so I flipped them over, hoping to recreate that effect on the front.


It worked like a charm:


Once I repeated the process nine times, I was ready to stain.


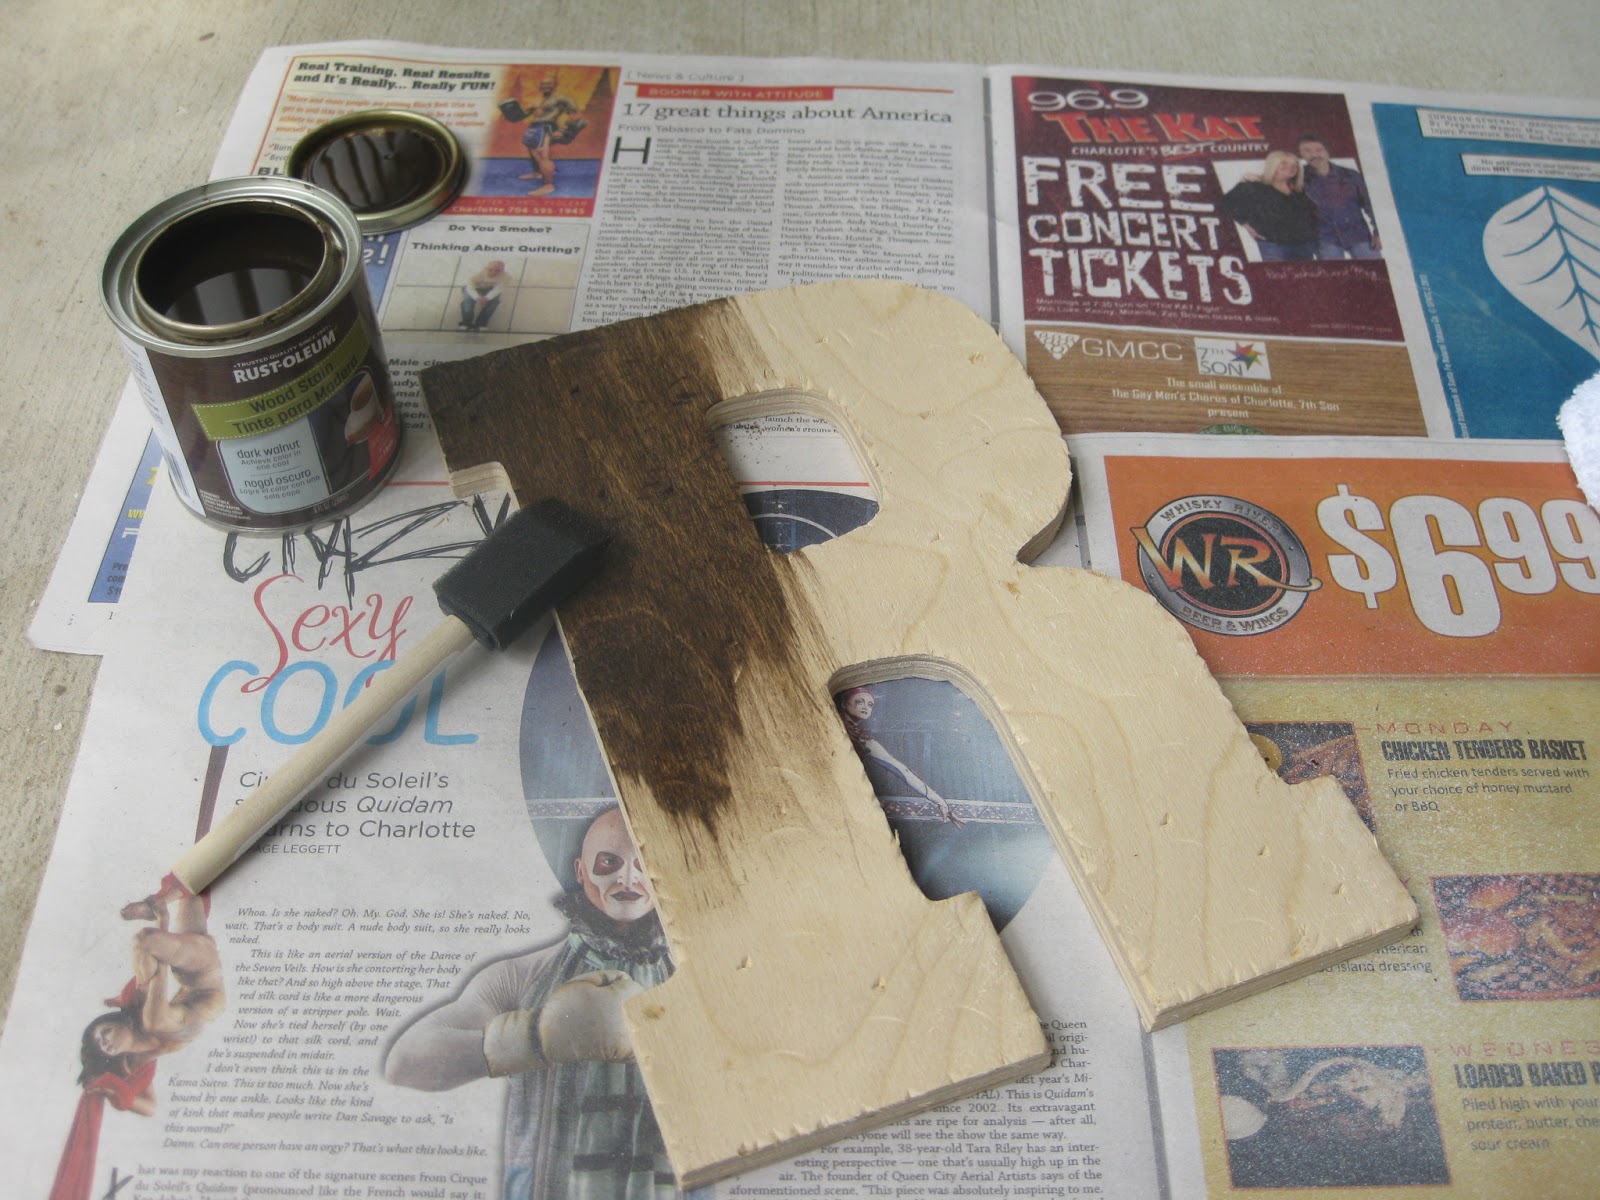
I started with Rust-oleum's Weathered Gray stain and a sponge brush. I was originally planning on only using this one stain, but I very quickly realized it wasn't going to give me the reclaimed wood look I wanted and more of a straight grey, like driftwood.


It could have been very pretty, but it is also very similar to the colors I  plan on using for the walls in the new house. After giving them all one coat of grey, I decided to try adding a coat of Rust-oleum's Dark Walnut on top of the gray. Afraid at how it would turn out, I cautiously tested it out on the back of one of the signs.


The combination of the two stains was the exact look I was going for, so full steam ahead.


Three coats of poly and a little dry time before the finishing touches.


I assume that some of them must have been in the spray radius of the DIY Milk Glass because I kept finding these little speckled spots:


This gave me the cool idea to lightly mist some spray paint nearby on select areas (not all over, because I like how it looks unintentional). I misted with spray paint both before and after the poly. The spray before bled and gave some interesting bleached spots. The spray after was more precise, similar to the above spot. The combination of the two is fantastic.


Now it's time to hang:


I didn't put too much time or effort into the installation because the only place we have for them right now is behind a door. I can't wait to put this in a much more visible spot in the new house.

Pat, Boone, and I are off to Washington, D.C. to celebrate our country's independence, so the last project for DIY week won't be posted until Sunday at the earliest. This trip wasn't planned when I gave myself a timeline to complete all my projects, so it might be a little late. We'll see.

Tuesday, July 2, 2013

DIY Stained Wood Letter

Today I'm going to tell you about how I made a Stained Wood Letter on the cheap. Mine was approximately $5 for all the supplies.


While scouring a clearance aisle at Michaels, I stumbled across two wooden "R"s on clearance for $2 a piece. Being a woman, I naturally love monograms and anything personalized so there was no way I was going to leave it there. I doubled up on "R"s so that it will have a little extra omph. Who knows what I'll do with it, but just in case it becomes the focal point in a gallery wall it could use the added depth.

I started by taking the twins and gluing them together.

Before:


Drying:


I don't have a clamp and the plants desperately needed some direct sunlight. Two birds.

After:


Then, to give it a slightly weathered look (not too much), I beat the hell out of it with a hammer. My neighbors must hate me know.


I took extra care pounding down the corners, so nothing would look freshly cut. Then I hammered all over the surface to give it an uneven texture. Still not quite satisfied, I took the back of the hammer to it and gave it some nice little gouges.


Next up: staining.


I used Rust-oleum's Dark Walnut and a sponge brush to apply. Luckily, I had some cheapo washcloths lying around to wipe off the excess. Yay for not ruining good towels!

First coat in progress:


First coat done:


Don't forget to wipe!


Looking pretty rich after the second coat:


I gave the entire thing (including the back) a solid two coats of stain. Once that was dry, I finished her off with three coats of polyurethane.


I'm still not sure what I'll do with it in the long run, but for now it's hanging out next to our propeller and mini chalkboard.

And that friends, is how you get an easy stained wood letter for less than $5.

DIY Pinwheels

Hello, again!

Today, for the second part of DIY Week, we're going to make pinwheels! If you're anything like me, as a child you marveled at that amazing shape and 9 times outta 10, a lot of sparkles. I also had competitions with myself to see how fast I could blow it. Well today's pinwheels don't have sparkles, but they are grown up enough to make a cheap and easy focal wall.


This craft is straight out of my childhood, but I need to give some credit to my job. Every now and then, I feel like my title should be Resident Installation Artist because I get to spend my days doing cool, nostalgic projects like making pinwheels. That little gig inspired me to bust out some pinwheels on my own time.

To get started, you'll need a few basic craft supplies:


  • Paper - I used scrapbook pages and a small paper pad.
  • Straight edge - if you're cheap like me, the 5 gallon paint stirrer from Lowe's is the perfect size and free.
  • Brads - I got a cute assortment with aged silver, copper, brass, and pewter for $3 at Michaels. I didn't even use all of one color for this project.
  • Scissors or an Exacto if you're fancy
  • Pencil
  •  Hole punch - I have a 1/8" that is the perfect size for the brads.
 To start, I trimmed down the paper to a square. If you're using scrapbook paper, you just need to trim off whatever label was on the page.


Once you're square, flip over your paper and bust out your straight edge and your pencil.


Now take your straight edge and draw a line from corner to opposite corner. Repeat so you end up with a X.  Then you'll want to draw a cross (see images below) to demarcate how far to cut. You'll want to draw both the X and the cross as lightly as possible, or you'll be able to see it on the finished product. Because I love you, I drew one darker so you can see what it should look like (still hard to see, sorry).

Caution: if you have cats, they love every piece of this project. Have a distraction technique ready, or you might end up with this sight.


The corners of the square (at the center of the cross) should intersect the X. Now take your scissors and follow the X from a corner, to where that square intersects the X. Do not cut all the way to the center of the X (unless you were looking for a tutorial on how to get four identical triangles, in which case cut to the center of the X. You're done).


Then you'll want to punch a hole in the very center of your page, where the X intersects. 


A standard hole punch can only reach 2" so I stuck a brad in the middle and spun it around to create the center hole. I hope you tried (and failed) to make your hole punch reach the center of your paper. I did too.

Then you'll take your hole punch (for real this time) and punch one hole in each corner so that it looks like this.


You only want to hole punch on one side of the cut because you will only be folding in one corner. The other corner will be the end pointing out.

Similarly, you should have four triangles (formed by that original X) and only one of the corners of each triangle should be hole punched, and it needs to be the same corner. All of mine are punch at the bottom right corner. If you rotate the paper, it will always be the right corner.


Then, round out the corner around the hole punch. This just makes it look cleaner when it's at the center of your pinwheel.


It should look like this once you've rounded out all four corner.


 Now it's time to start pinning your pinwheel. Take your brad and put it through the first hole.


Then, working clockwise, feed the brad through each consecutive hole punch.


Once the brad has been fed through all four corners, push the brad through the center hole and open the brad's wings. (Does anyone know what the wings of a brad are actually called? I'd love to know)


Now turn it over and, voila, you have a pinwheel.


And repeat until you have as many as you like. There's a really easy addition to make these into functional, child-ready pinwheels. If you'd like that info, just ask.

I warned you, cats love pinwheels.


Then, arrange in any fashion you like.


I put ours in the negative space left above our TV, between the bookcase and the lamp (have I told you how badly I want overhead lights?!).


Allow me to explain the weird blue TV screen: I like to rock out to late 90s pop while I'm crafting. That's my BSB Pandora station. It really helps, I swear.

In case anyone's wondering what paper I used, it's all scrapbook paper from Michaels for $0.59 a sheet. The smaller paper pad ("Indie Chic") was $5.99 for 24 sheets. Here's the names:


And there you have it: pinwheels!