

While scouring a clearance aisle at Michaels, I stumbled across two wooden "R"s on clearance for $2 a piece. Being a woman, I naturally love monograms and anything personalized so there was no way I was going to leave it there. I doubled up on "R"s so that it will have a little extra omph. Who knows what I'll do with it, but just in case it becomes the focal point in a gallery wall it could use the added depth.
I started by taking the twins and gluing them together.
Before:

Drying:

I don't have a clamp and the plants desperately needed some direct sunlight. Two birds.
After:

Then, to give it a slightly weathered look (not too much), I beat the hell out of it with a hammer. My neighbors must hate me know.

I took extra care pounding down the corners, so nothing would look freshly cut. Then I hammered all over the surface to give it an uneven texture. Still not quite satisfied, I took the back of the hammer to it and gave it some nice little gouges.


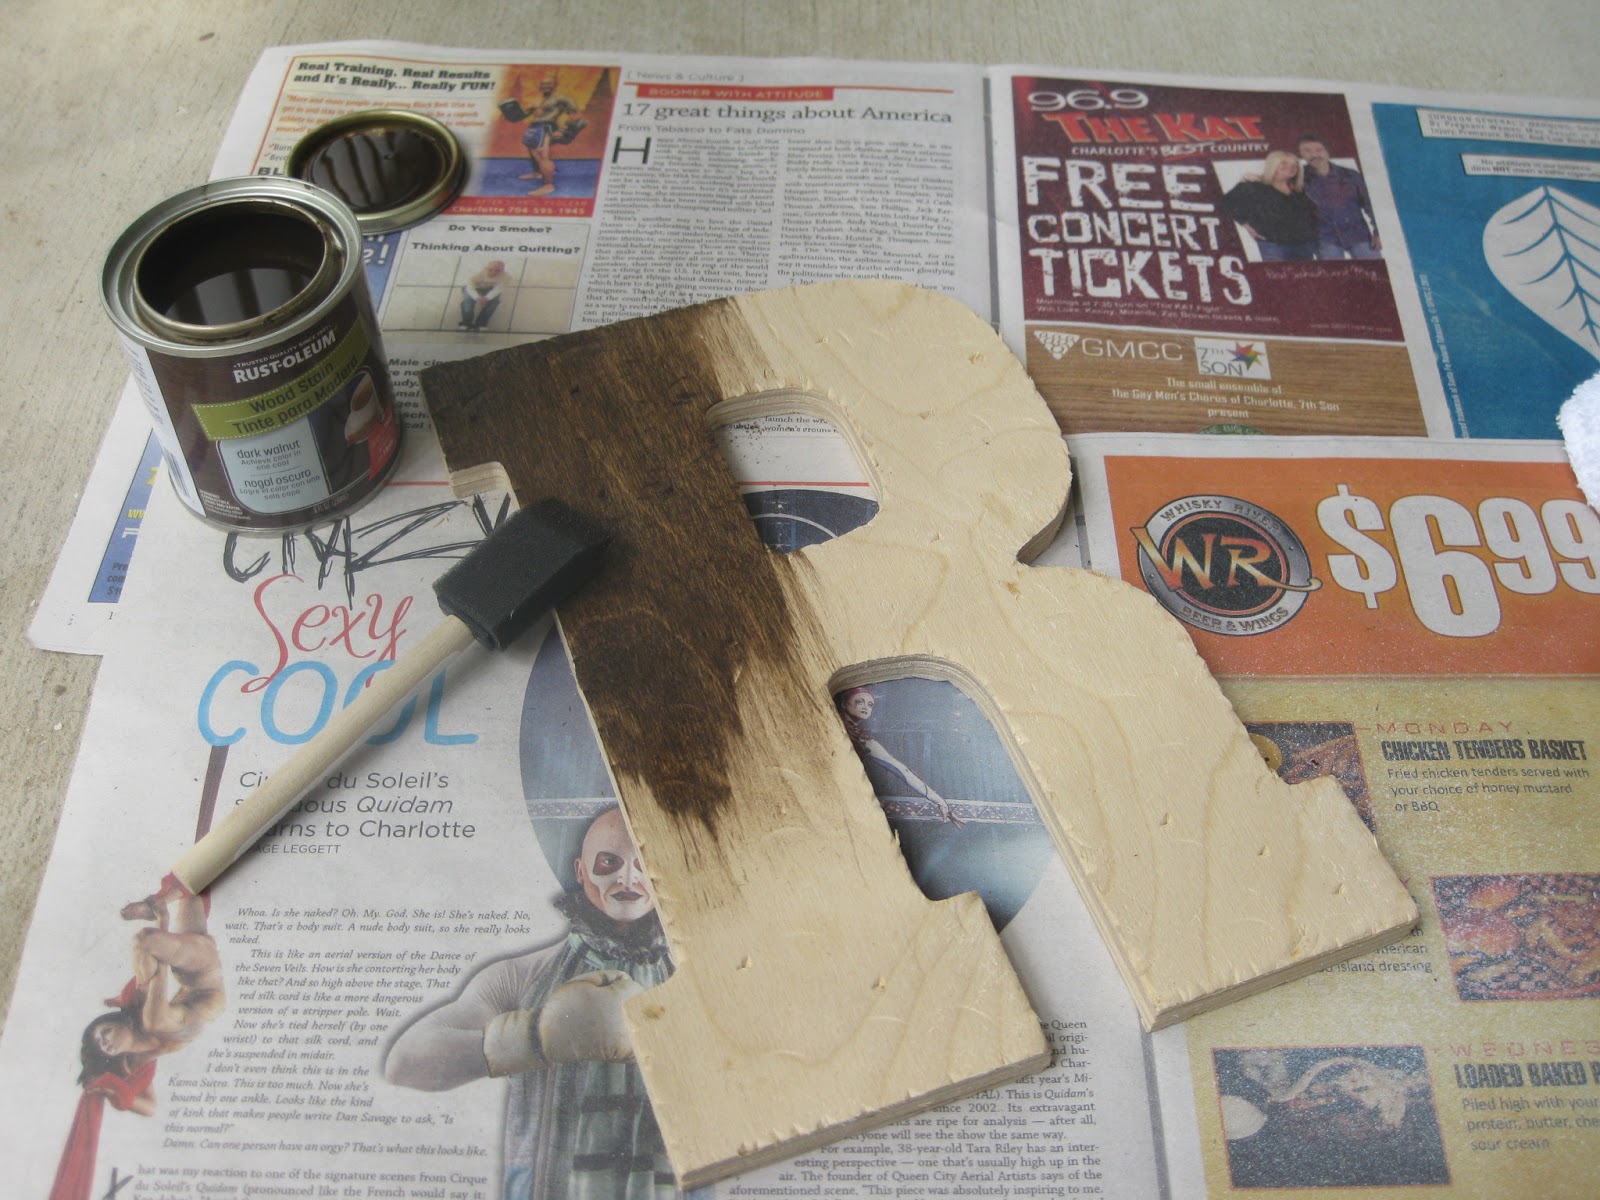
Next up: staining.

I used Rust-oleum's Dark Walnut and a sponge brush to apply. Luckily, I had some cheapo washcloths lying around to wipe off the excess. Yay for not ruining good towels!
First coat in progress:
First coat done:

Don't forget to wipe!

Looking pretty rich after the second coat:

I gave the entire thing (including the back) a solid two coats of stain. Once that was dry, I finished her off with three coats of polyurethane.

I'm still not sure what I'll do with it in the long run, but for now it's hanging out next to our propeller and mini chalkboard.
And that friends, is how you get an easy stained wood letter for less than $5.
No comments:
Post a Comment